
The April 2018, MCNP® 6.2 release does not have the Visual Editor included in the package.
The Visual Editor can be purchased as a separate package through the Radiation Safety Information Computational Center (RSICC) . It is PSR-618. The abstract is here: https://rsicc.ornl.gov/codes/psr/psr6/psr-618.html
The current RSICC release of the Visual Editor is MCNPX version 25 (visedX_25.exe) and MCNP6.1 (visplot61_25.exe) version 25. Development of the Visual Editor is ongoing and beta versions are developed following each release. The latest beta version can only be obtained by attending a Visual Editor workshop.
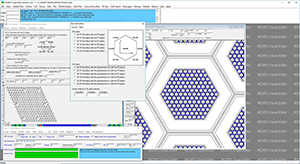
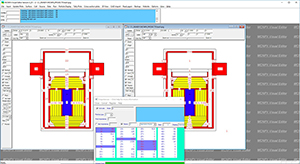
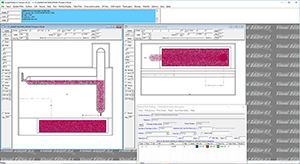
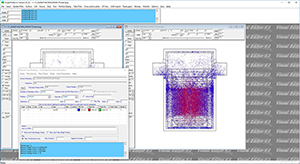
See Videos of the MCNP Visual Editor's capabilities. Click Here.
You can order the code here at the RSICC site: https://rsicc.ornl.gov/Catalog.aspx?c=V
The Visual Editor was adapted to work with MCNPX through a grant from NASA. To download the report issued to NASA at the conclusion of the Phase 2 grant (issued November 2008. 7.5 Meg), Click Here.

Do Not Modify Input Option
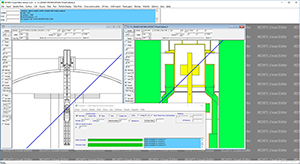
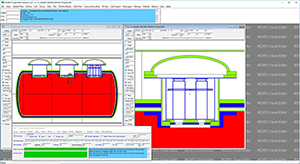
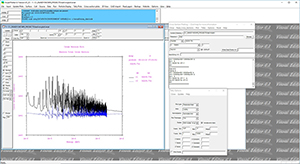
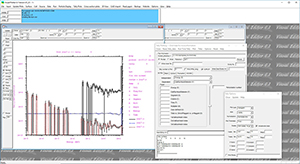
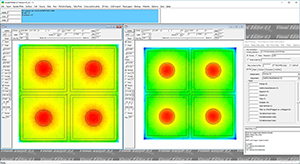
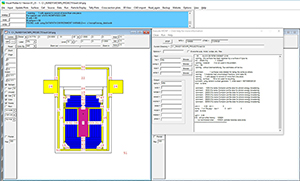
Another user concern is the Visual Editor modifies the input file, changing the format and order of the data within the input file. A new file->open option has been added to the Visual Editor to allow the user to open an input file without modification by the Visual Editor. In this mode, no changes are made to the input file and the un-modified input file can be viewed in the input window. However, because the Fortran to Visual Editor interface has been bypassed, none of the creation capabilities will be available in this mode. Display capabilities such as particle tracks, 3D ray-traced images, tally plots and cross section plots can still be generated.
This mode can be used by users who only want to generate display data and are not creating or modifying the input file.