|
Training by Visual Editor Consultants |
Small Class Size, A Computer for Every Student, Taught by MCNP Experts, Excellent Training Materials for Future Reference
|
Beginning Visual Editor |
Outline of Course Content
United States classes are typically held from 8:30 AM to 4:00 PM with an hour for lunch. European classes run from 9:00 AM to 4:30 PM. Below is a detailed description of the class.
Day 1
The first day introduces the user to MCNP and the Visual Editor.
MCNP Topics Covered in Day 1:
Introduction to MCNP
Visualizing MCNP Input Files
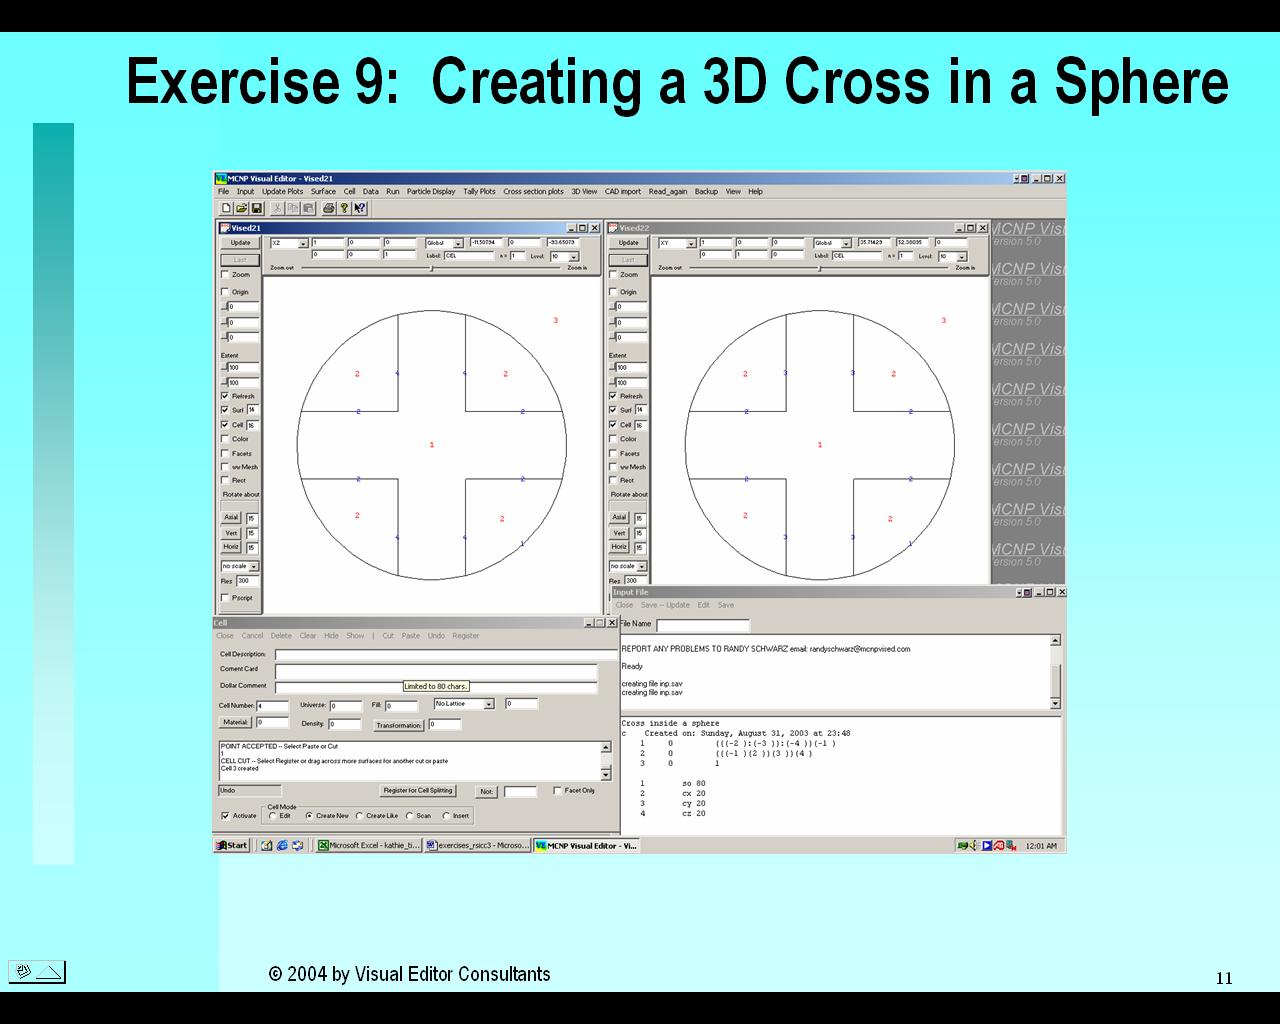
Simple Geometries in MCNP
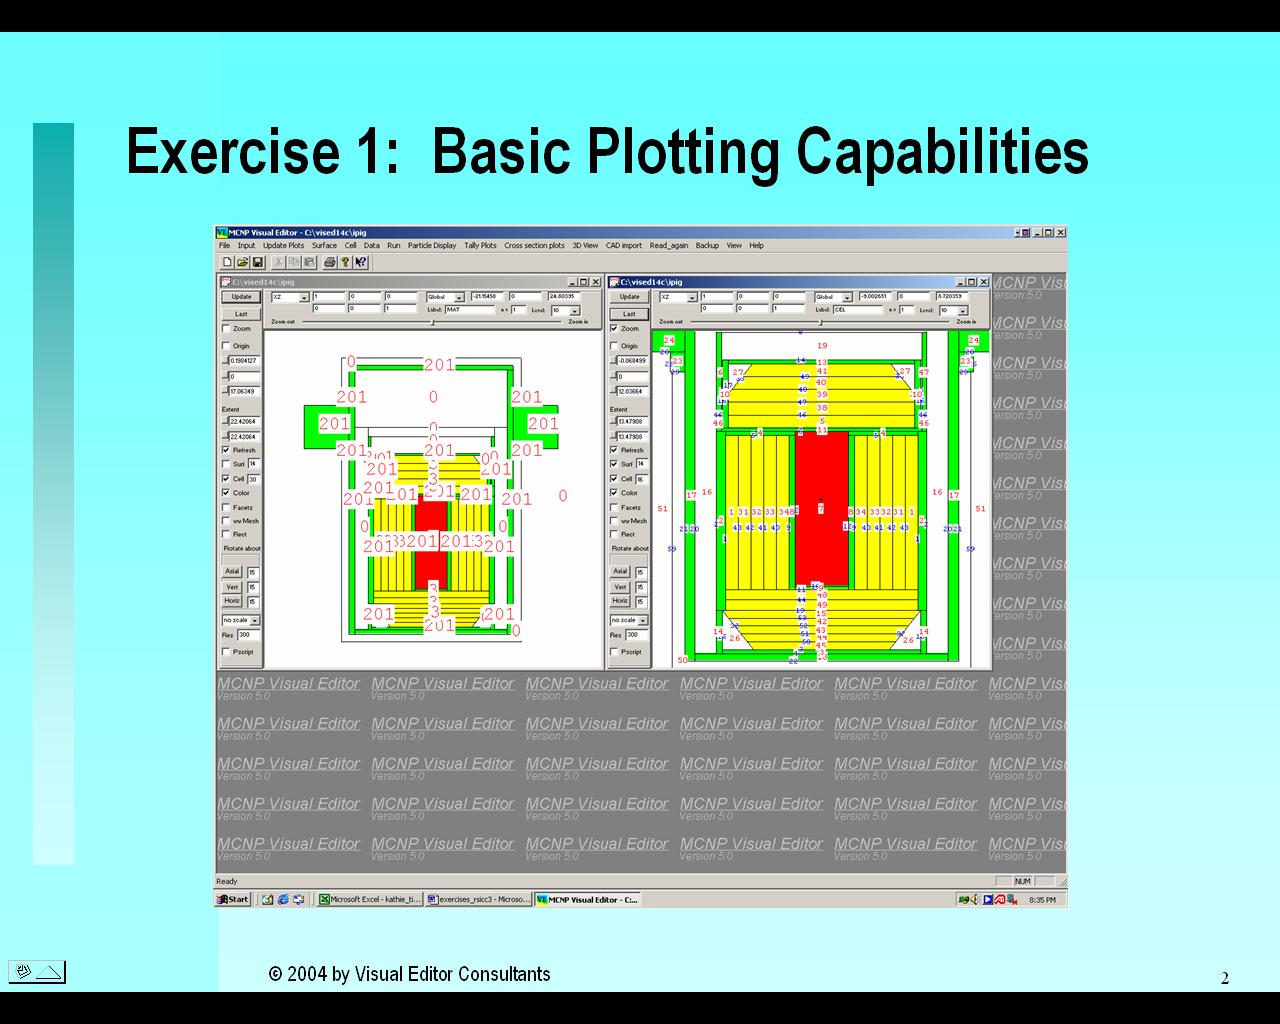
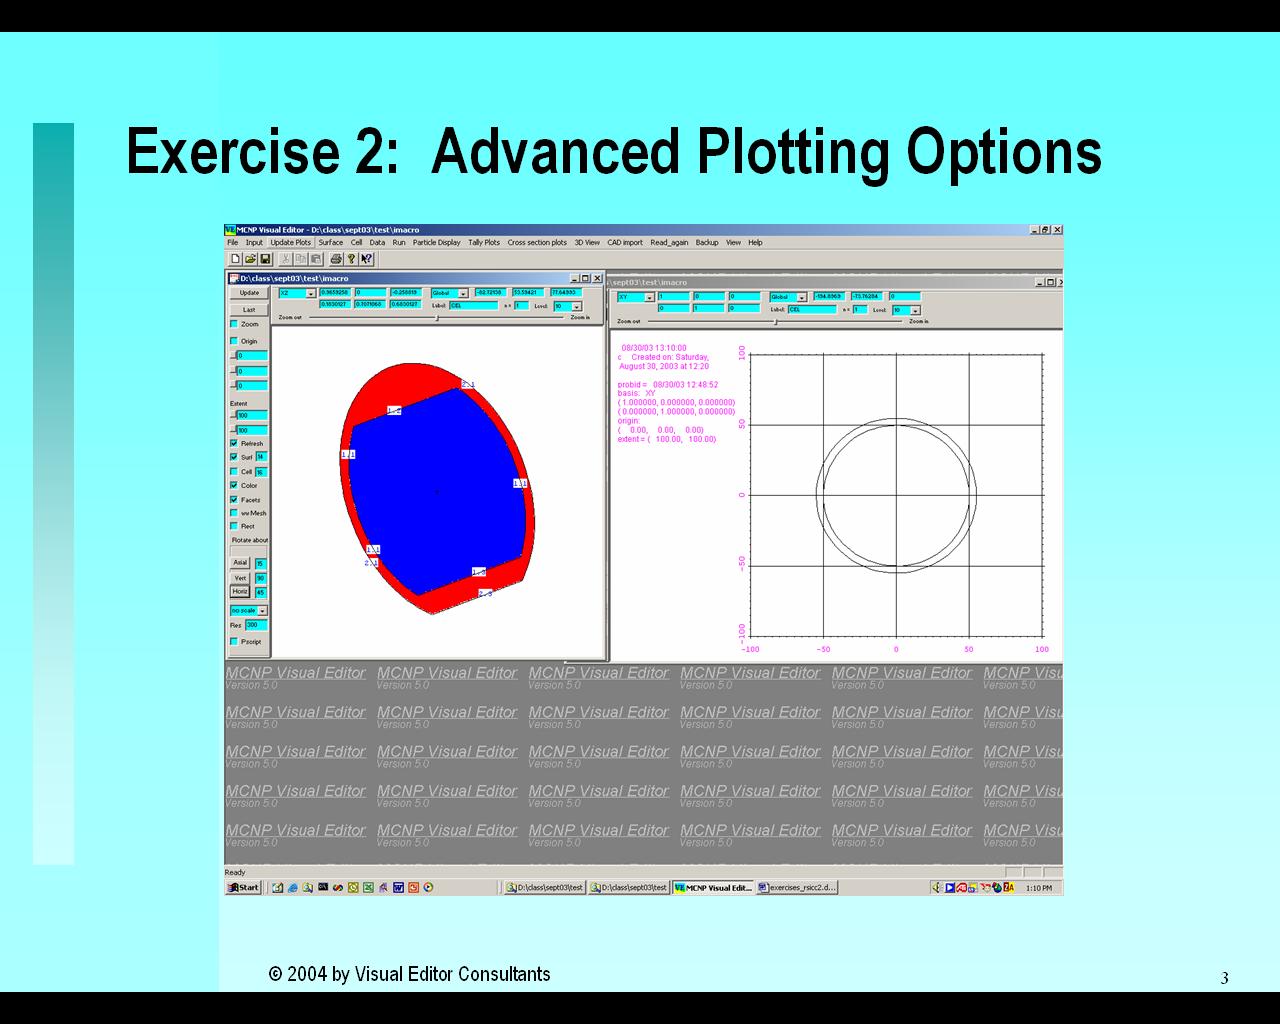
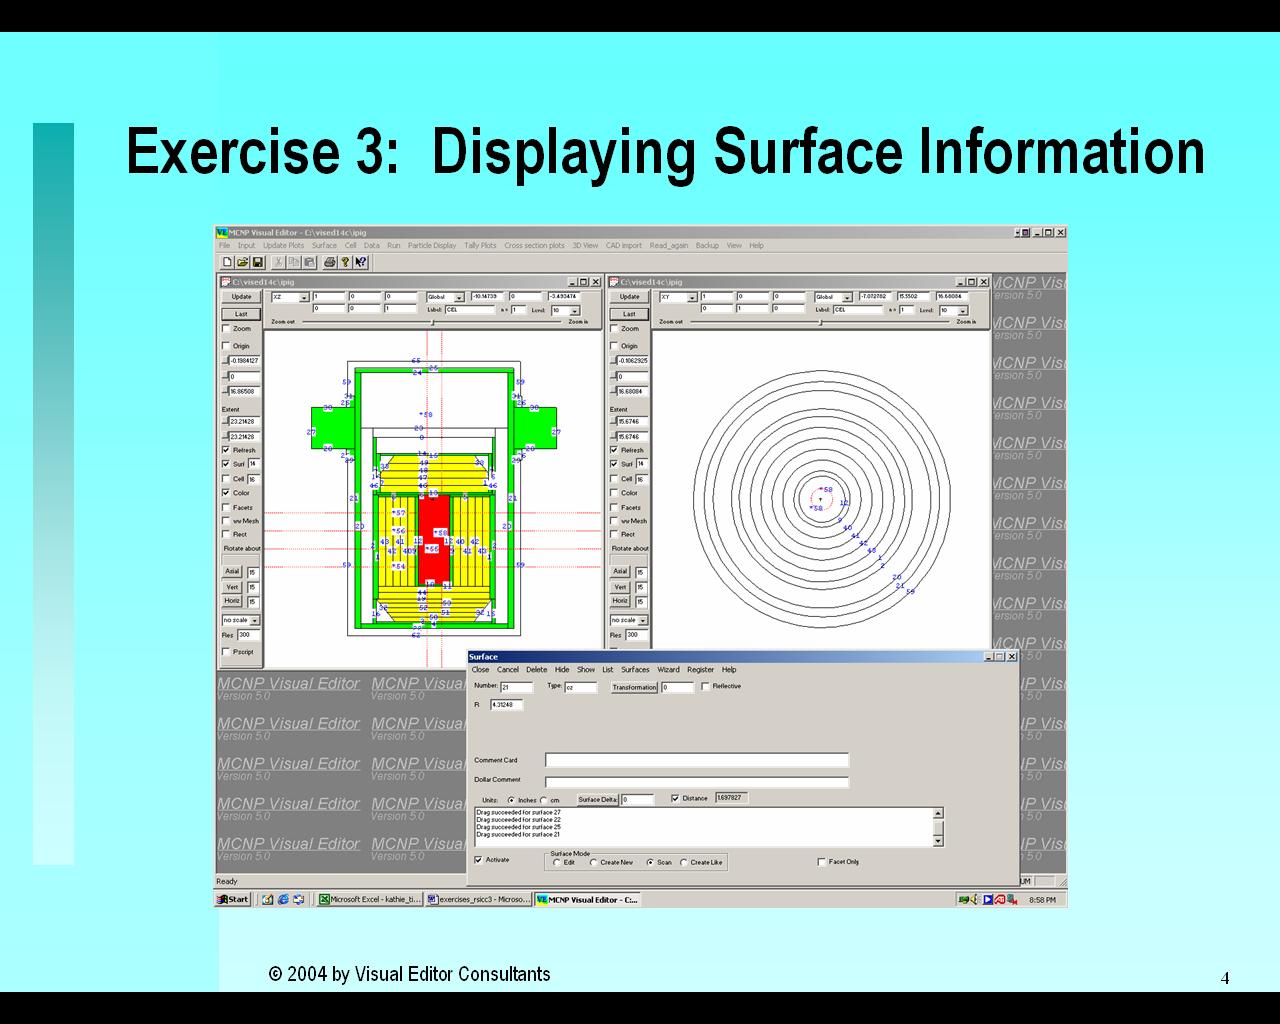
Visual Editor Topics Covered in Day 1:
 |
 |
 |
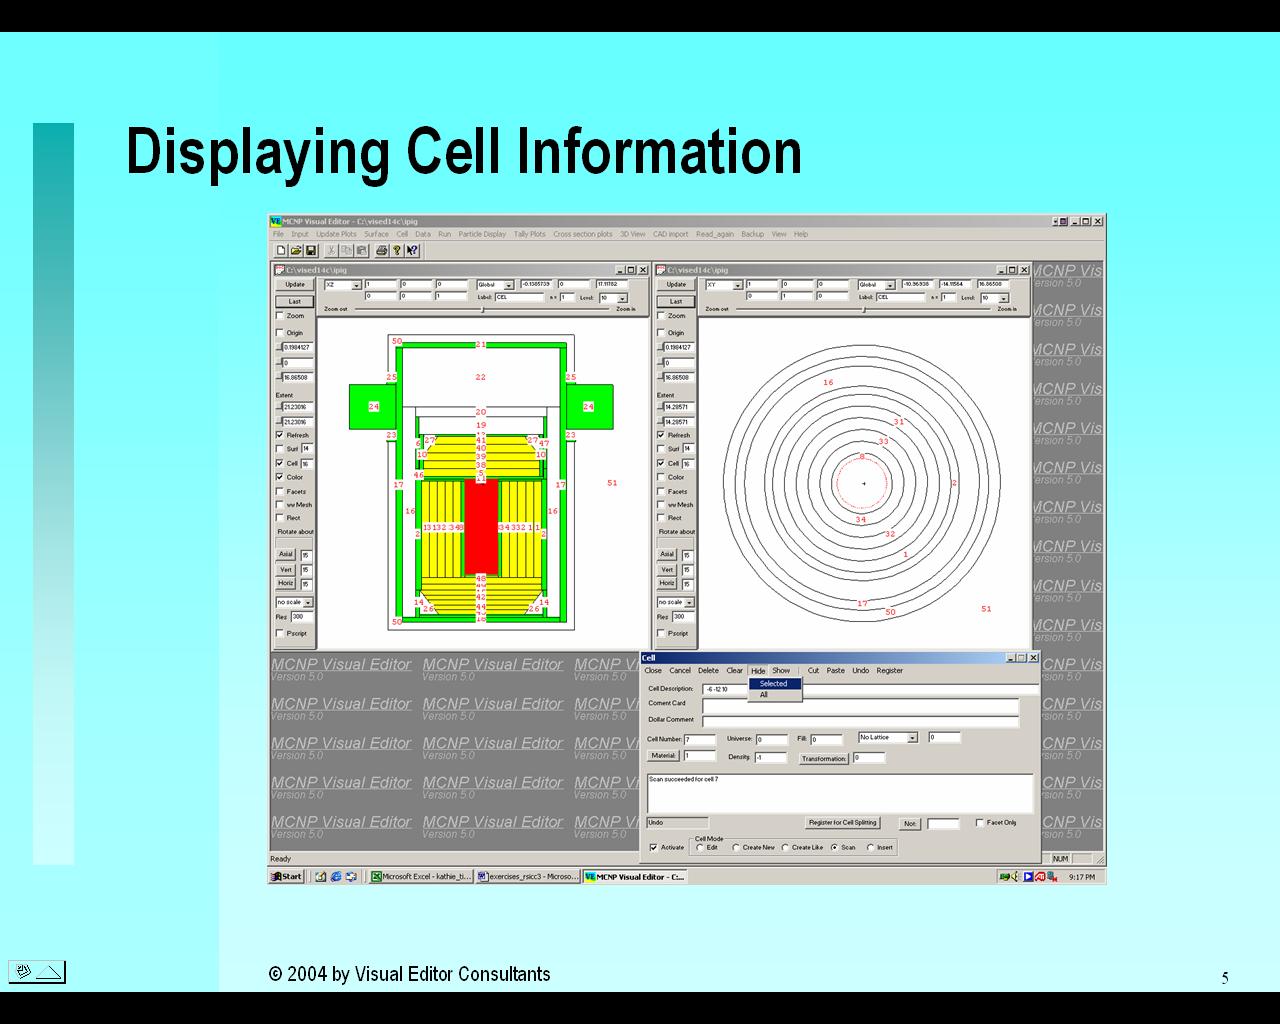 |
| Basic Plotting | Advanced Plotting | Displaying Surfaces | Displaying Cells |
 |
|||
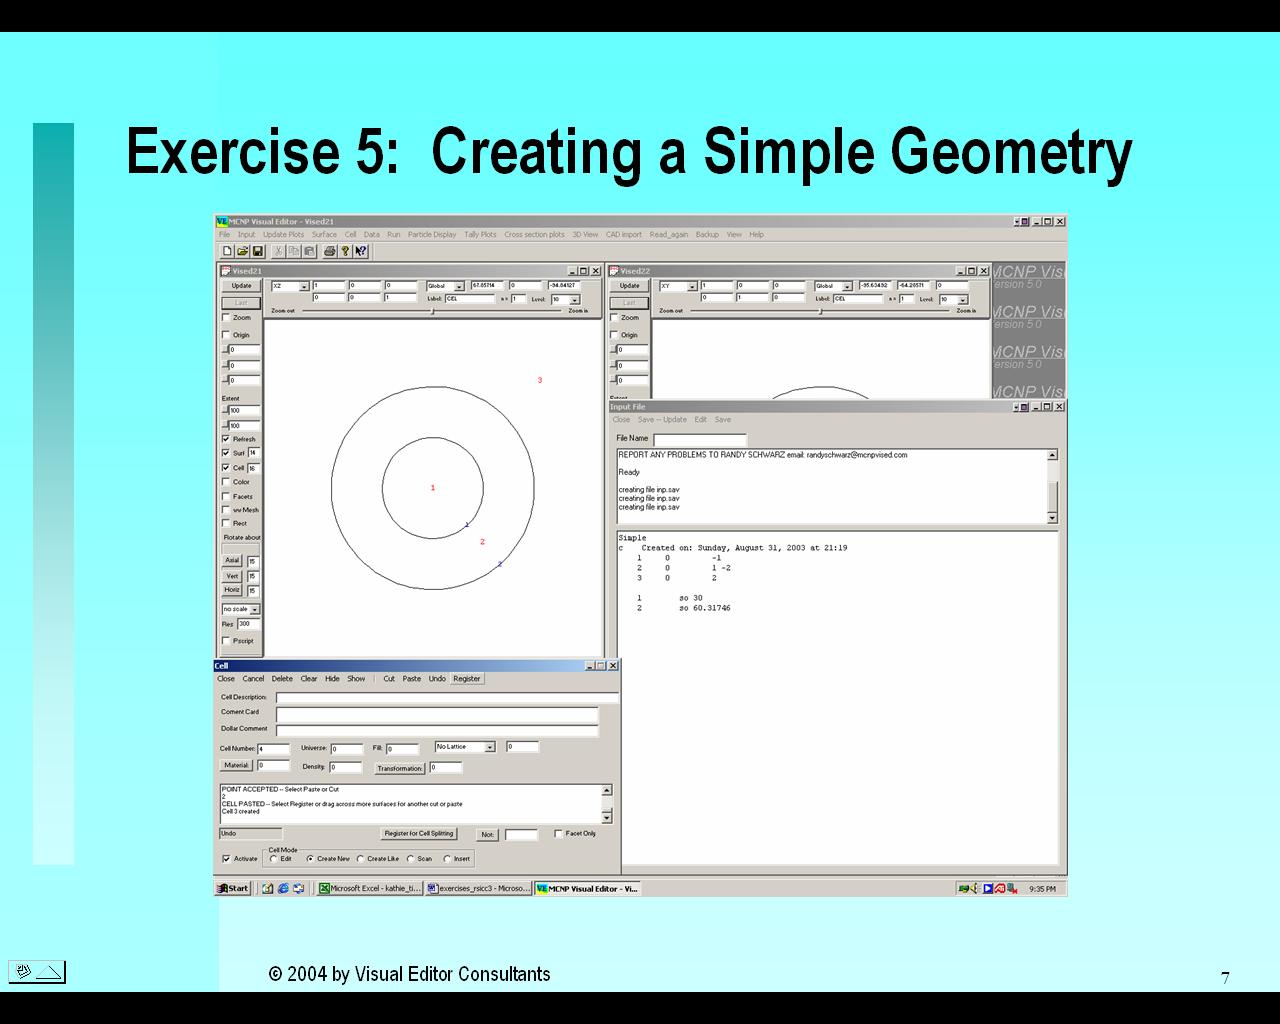
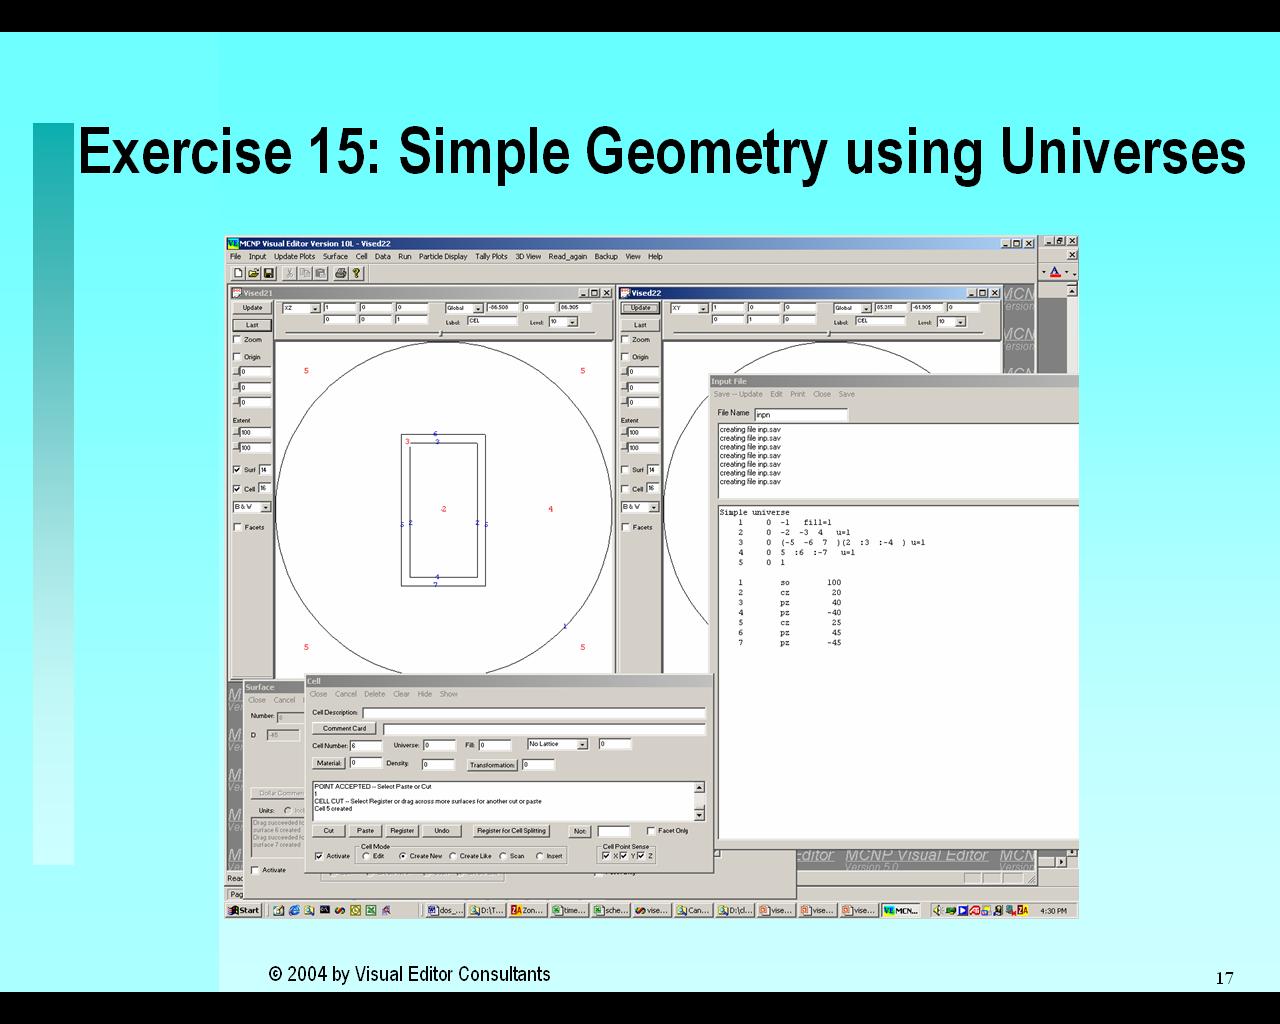
| Creating a Simple Geometry |
Day 2
The second day adds more advanced geometries with materials.
MCNP Topics Covered in Day 2:
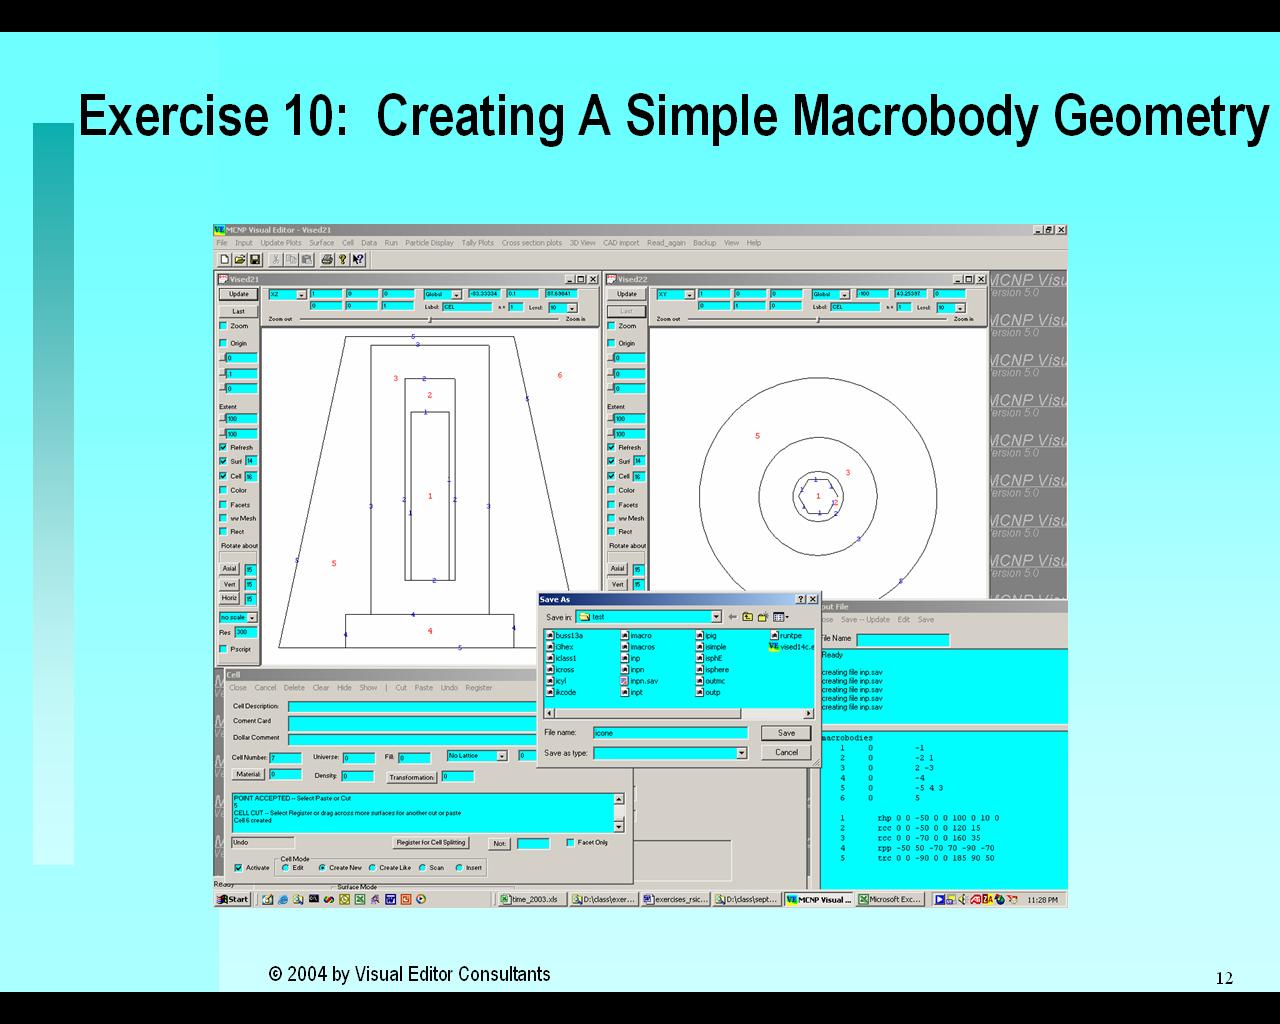
Creating Macrobody Geometries
MCNP Cross sections and materials
Visual Editor Topics Covered in Day 2:
 |
 |
 |
 |
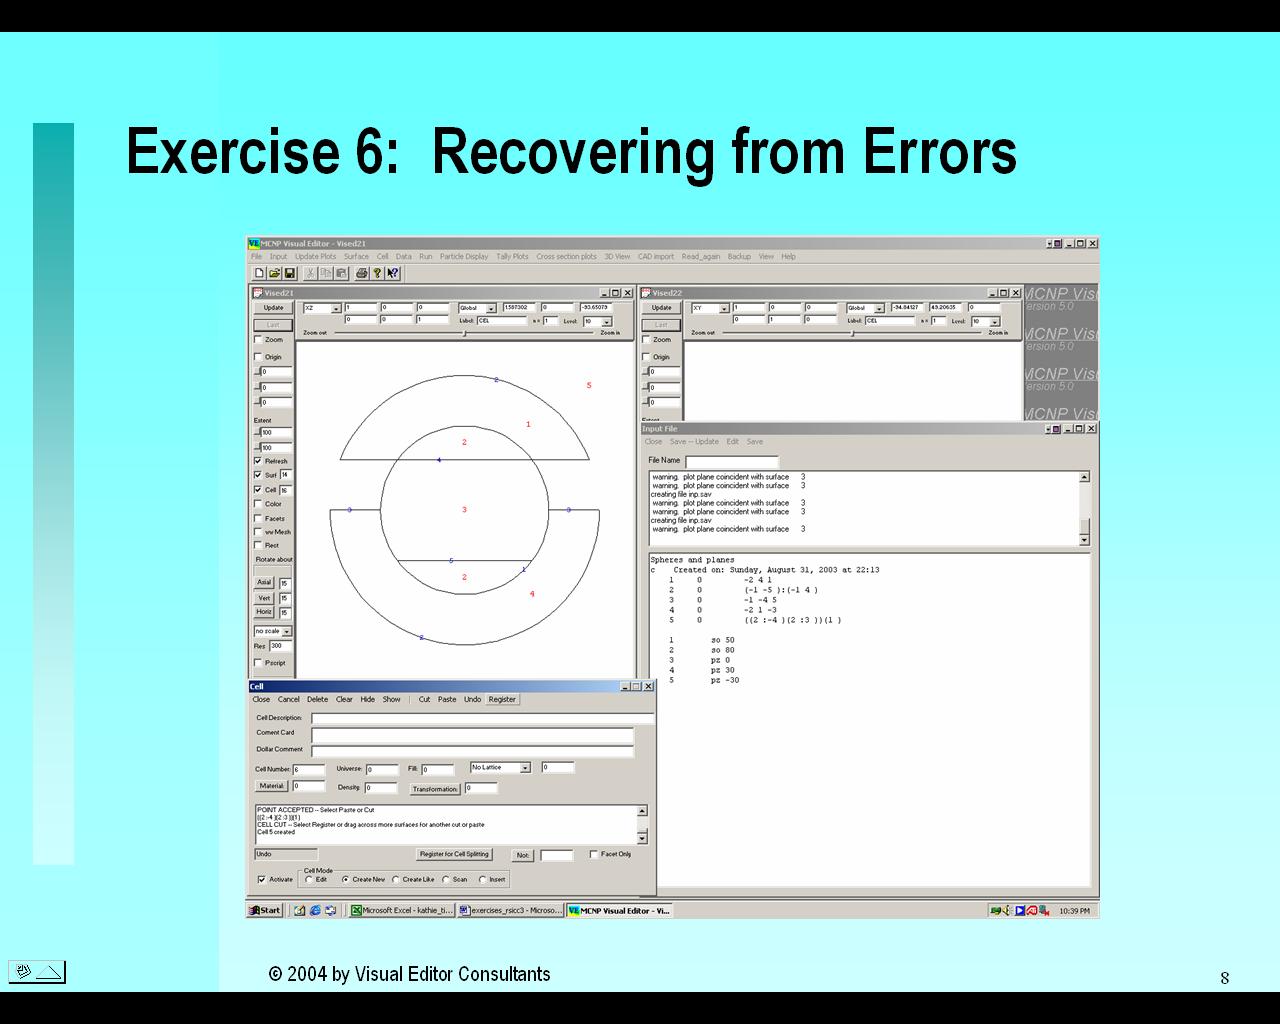
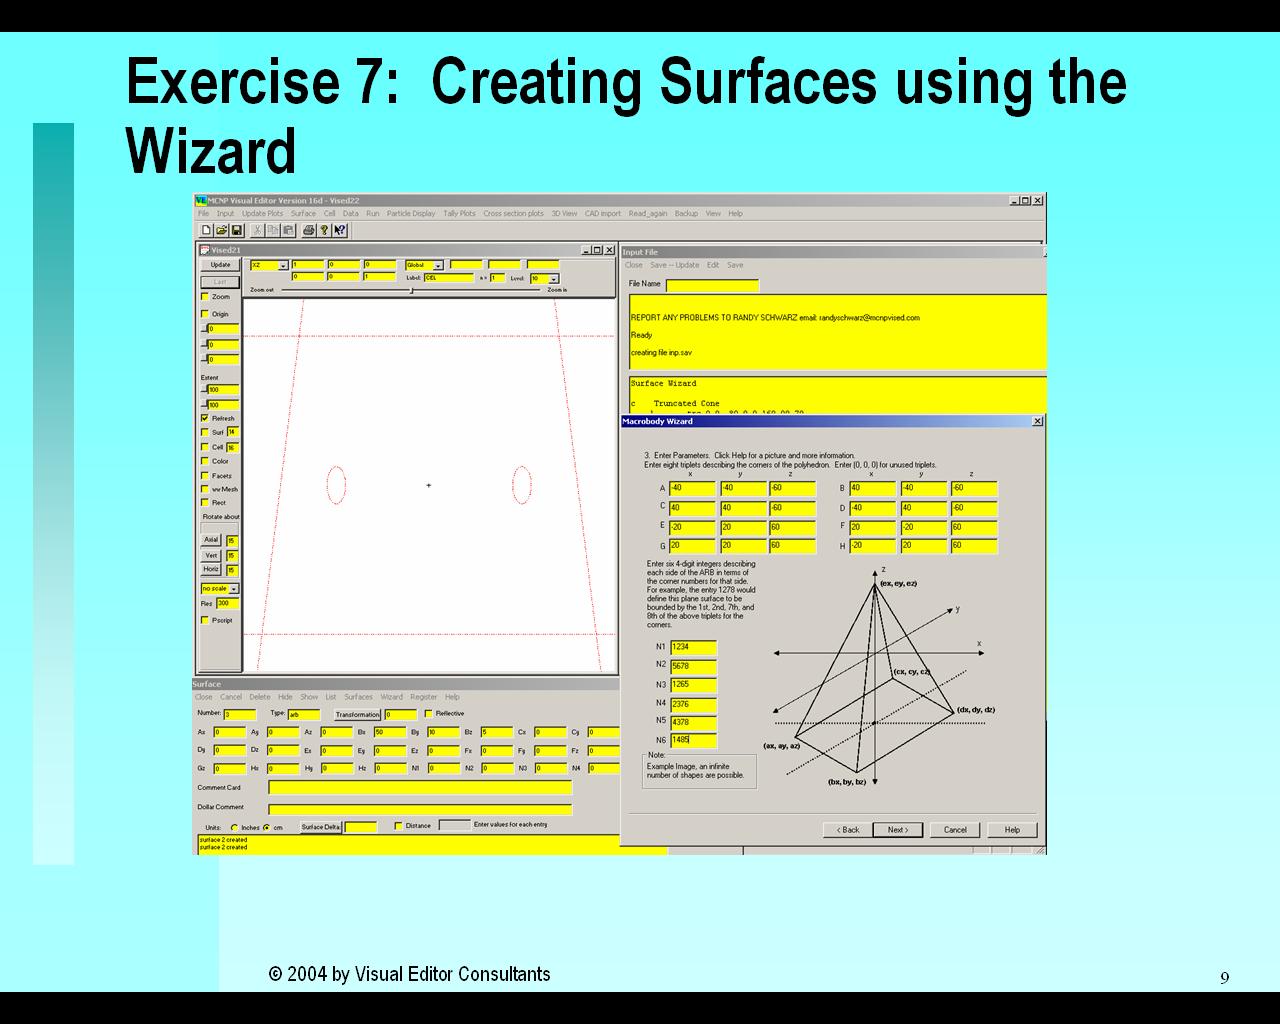
| Error Recovery | The Surface Wizard | Review | A more advanced Geometry |
 |
 |
 |
|
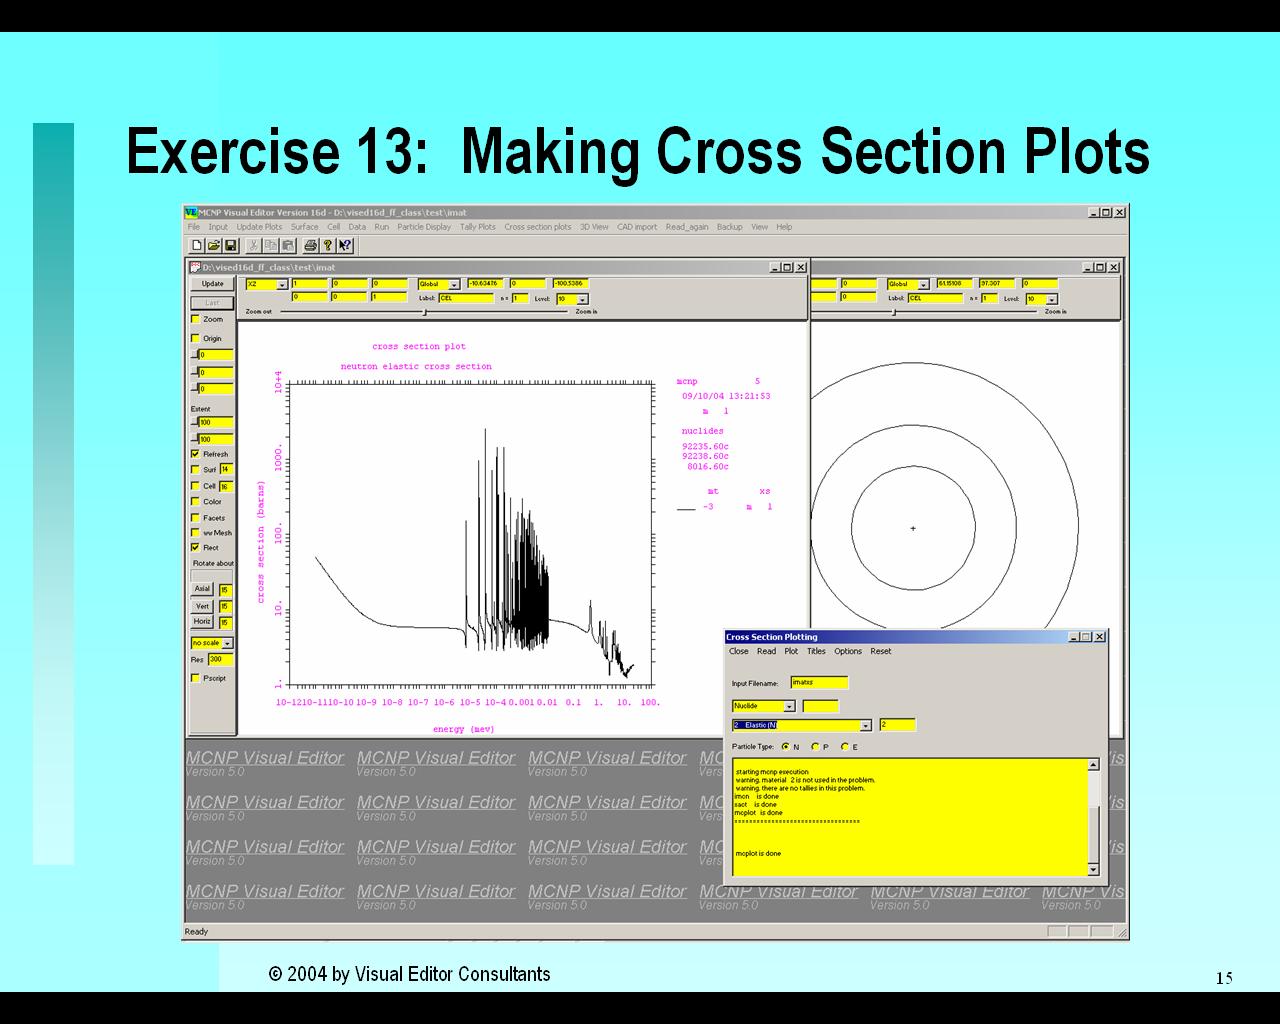
| Using Macrobodies | Using Materials | Cross Section Plots |
Day 3
The third day teaches universes and lattices and criticality applications
MCNP Topics Covered in Day 3:
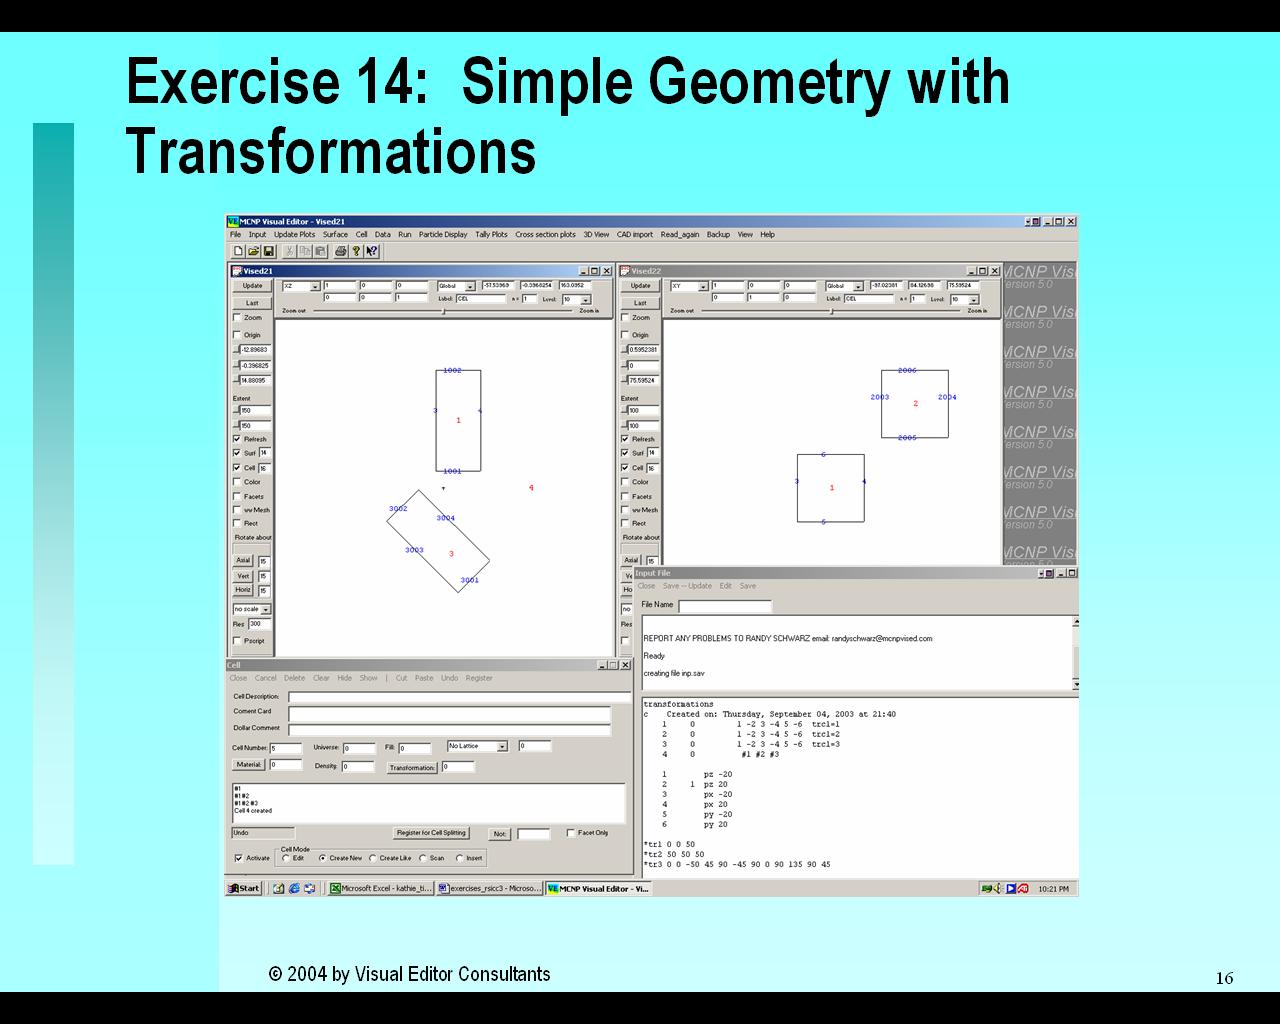
MCNP transformations and universes
Lattice Geometries
Source
Criticality
Visual Editor Topics Covered in Day 3:
 |
 |
 |
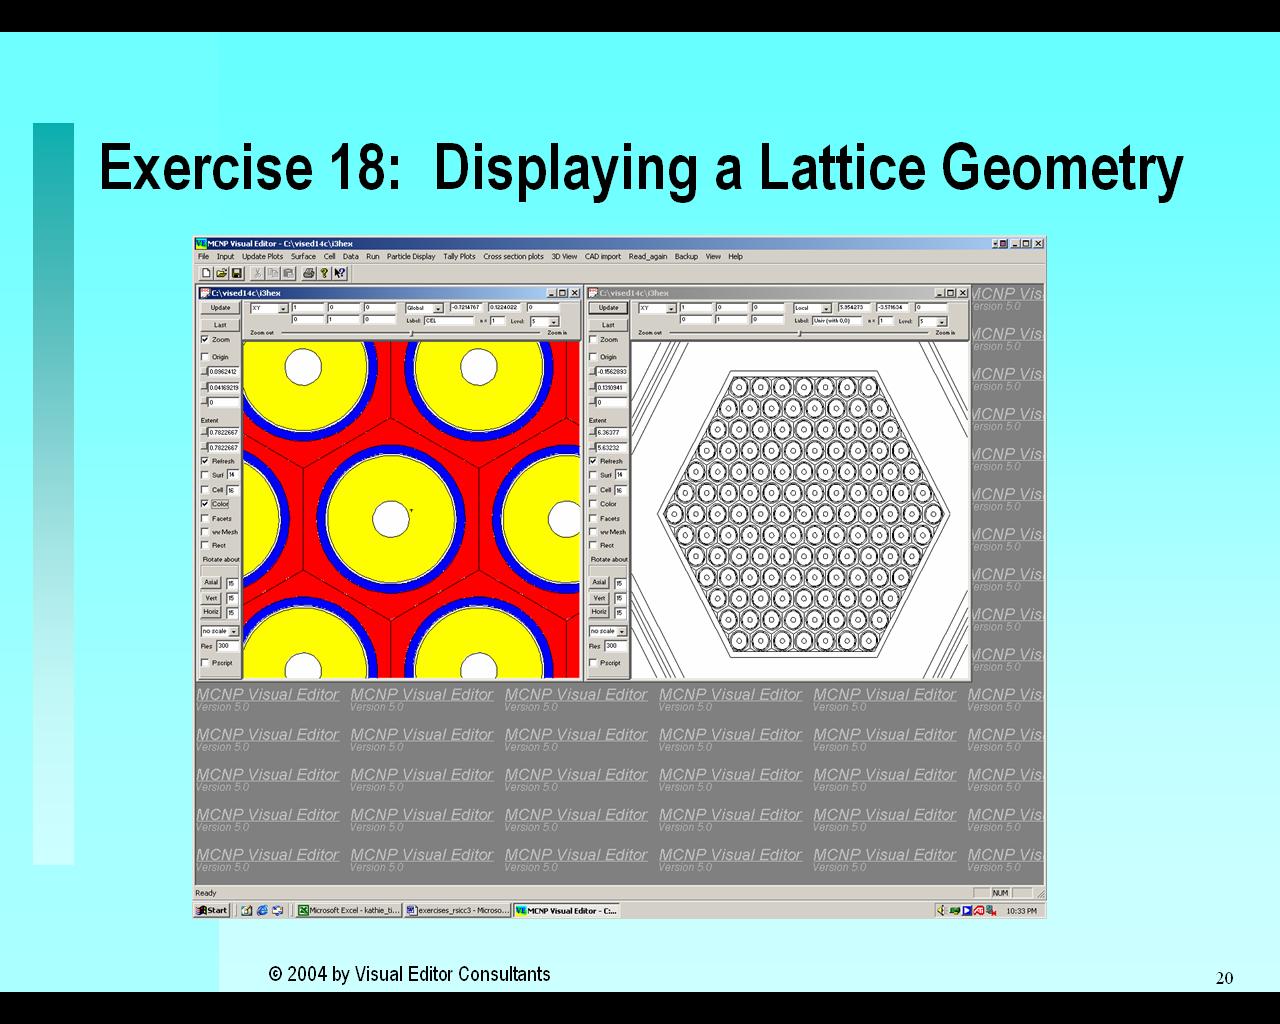 |
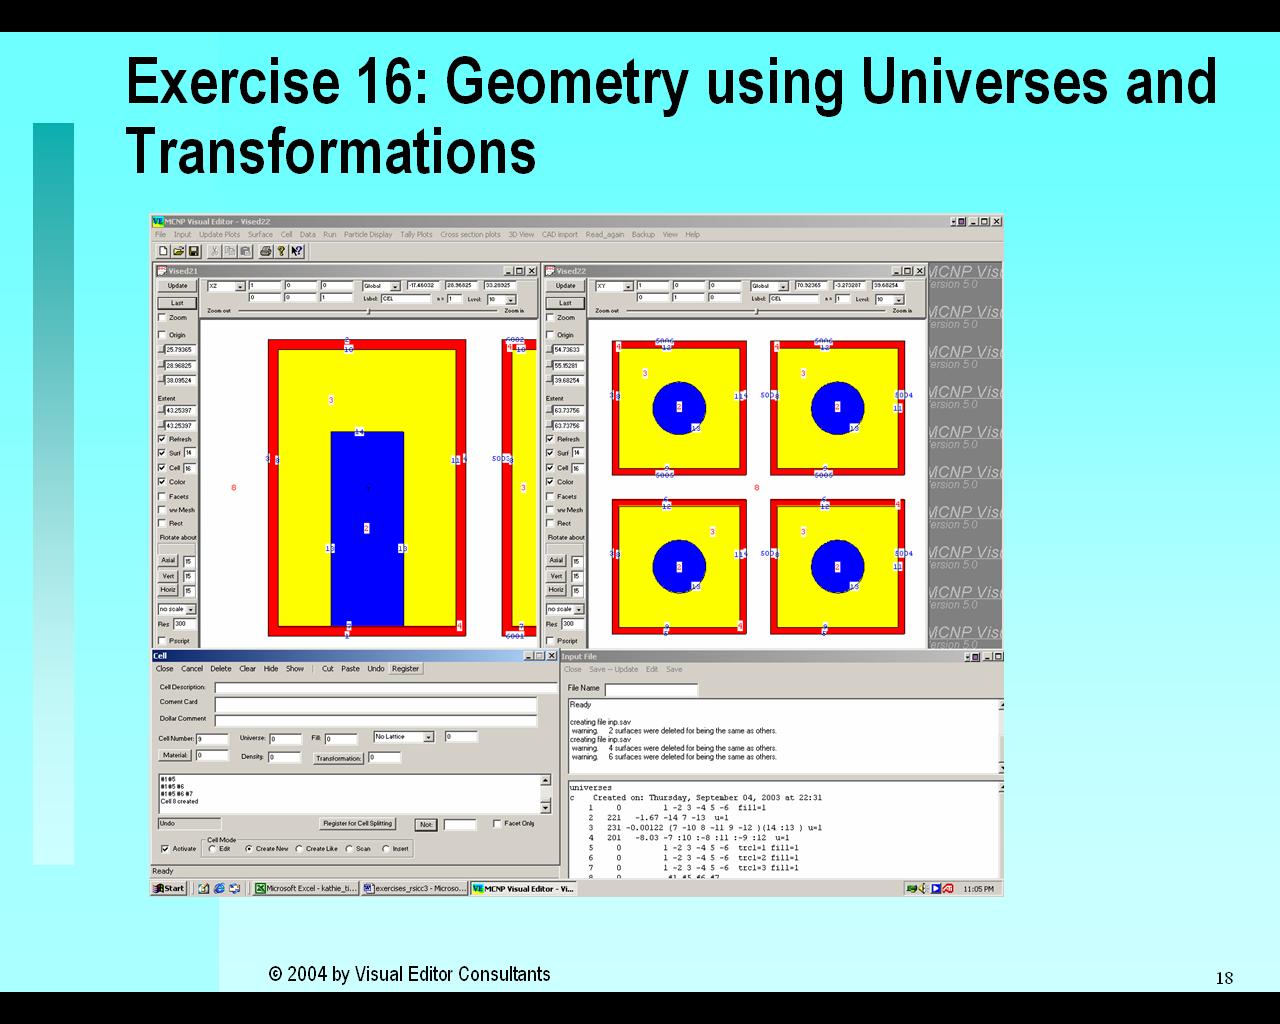
| Transformations | Universes | Review | Displaying Lattices |
 |
 |
 |
|
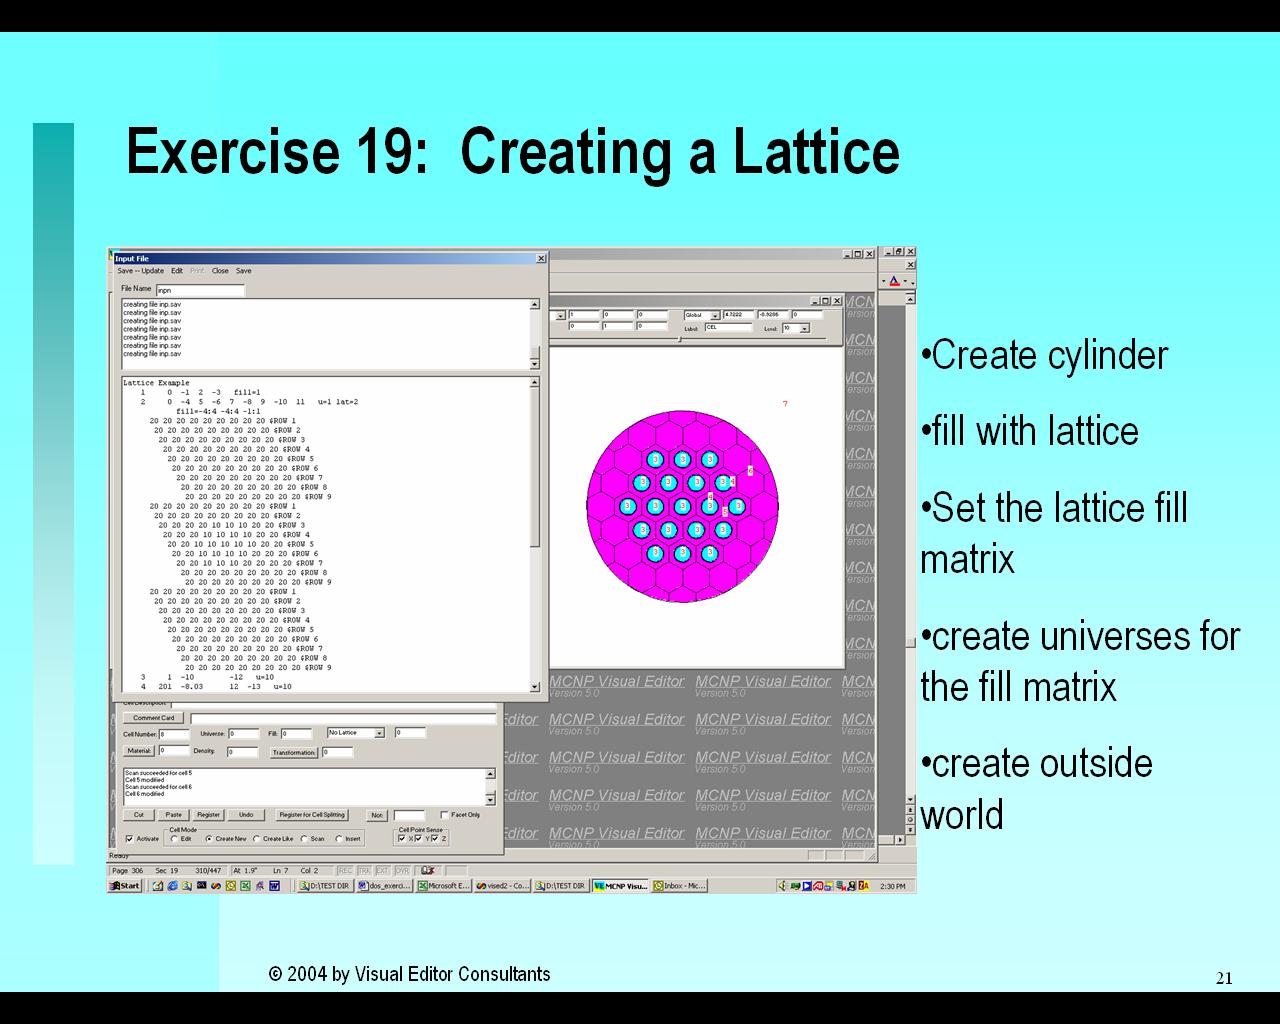
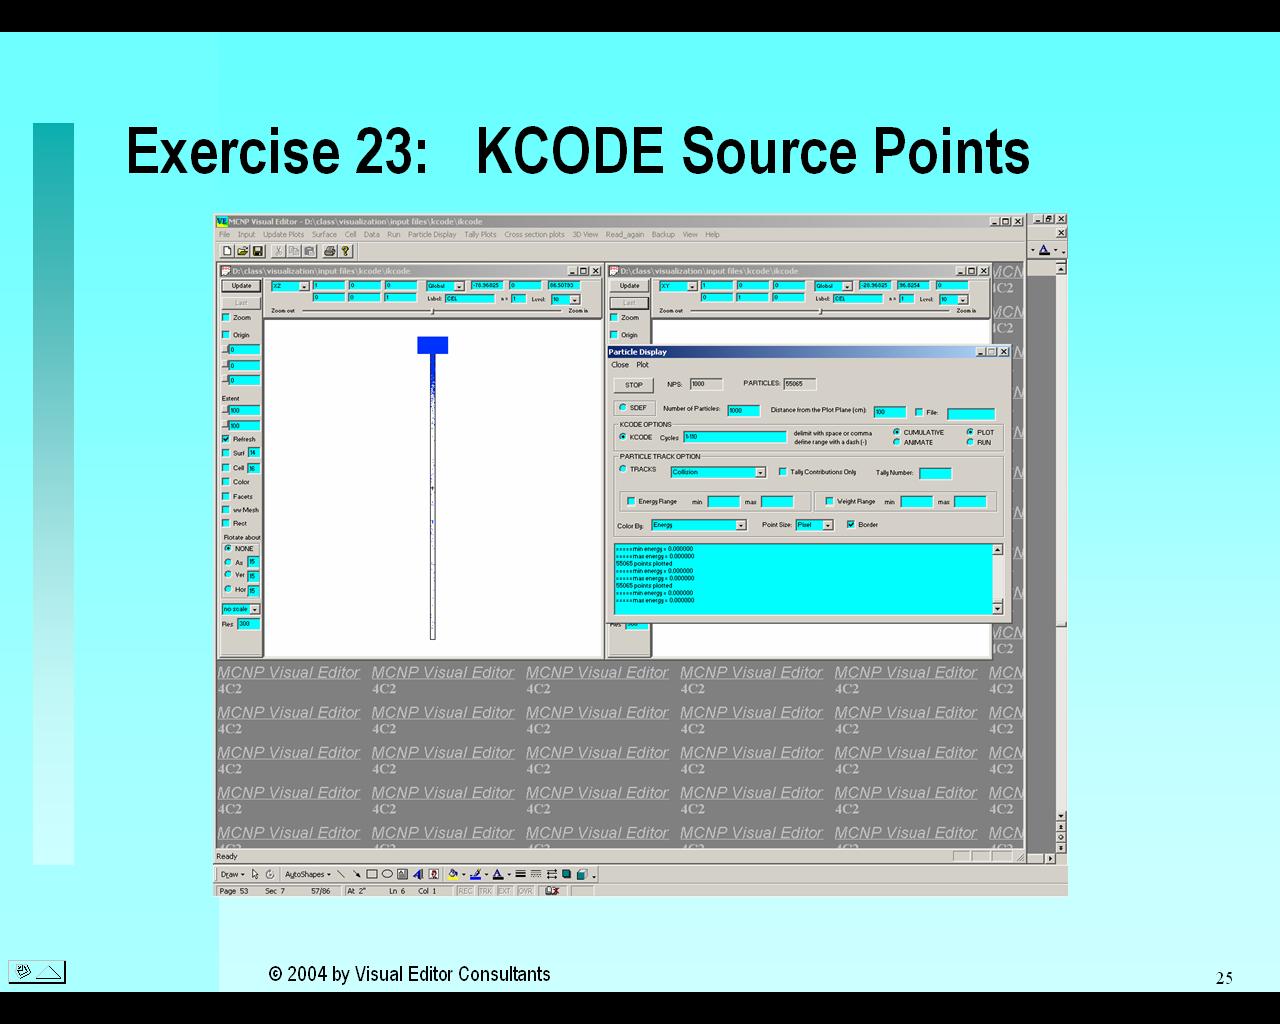
| Creating Lattices | Running a Lattice KCODE | KCODE |
Day 4
The fourth day teaches the creation and display of sources and tallies.
MCNP Topics Covered in Day 4:
General Source (SDEF)
Tallies
Visual Editor Topics Covered in Day 4:
 |
 |
 |
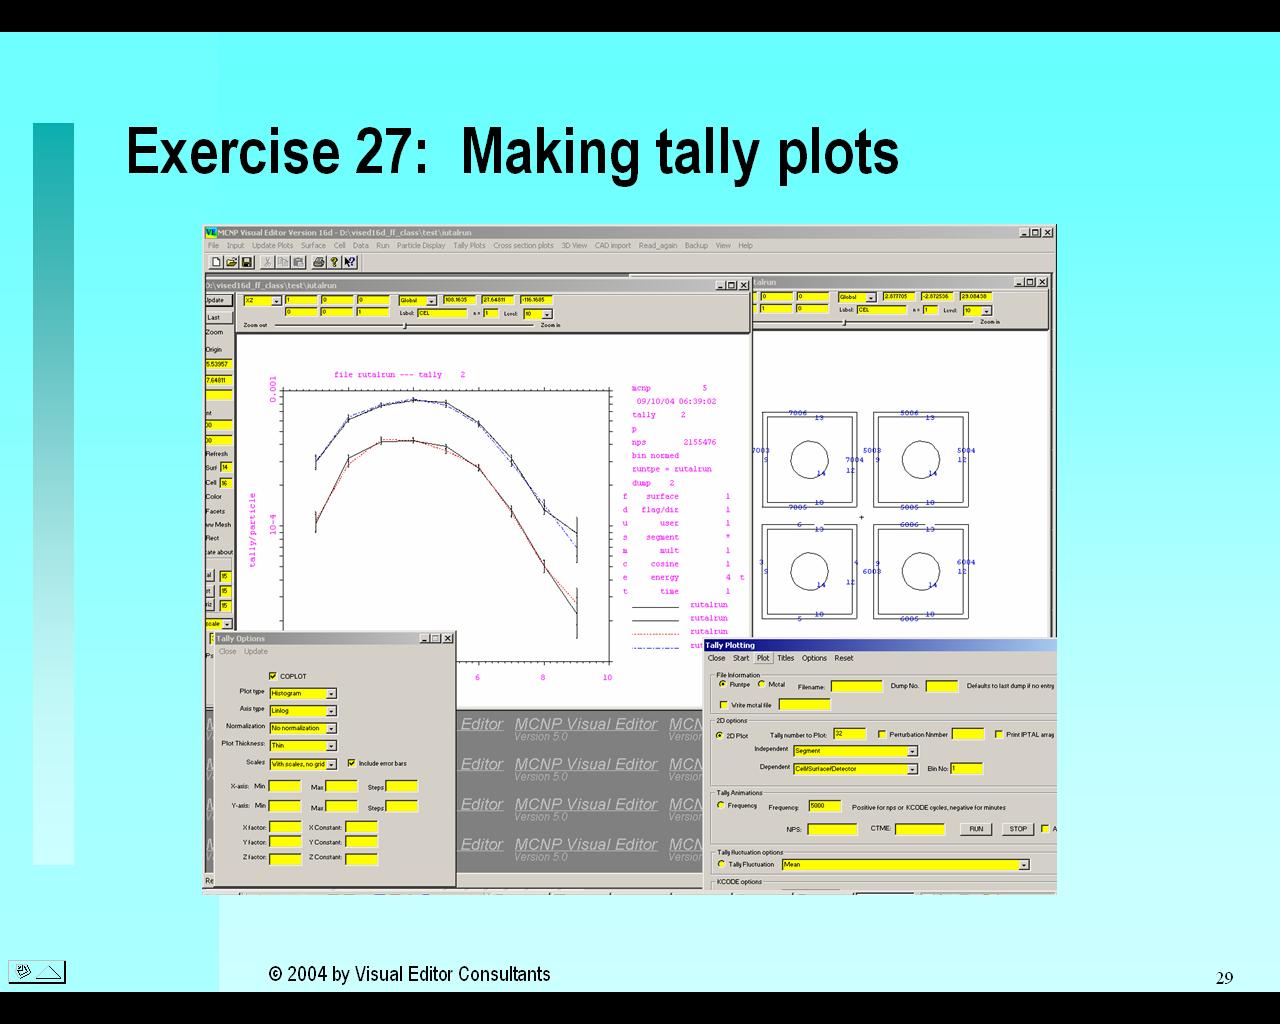 |
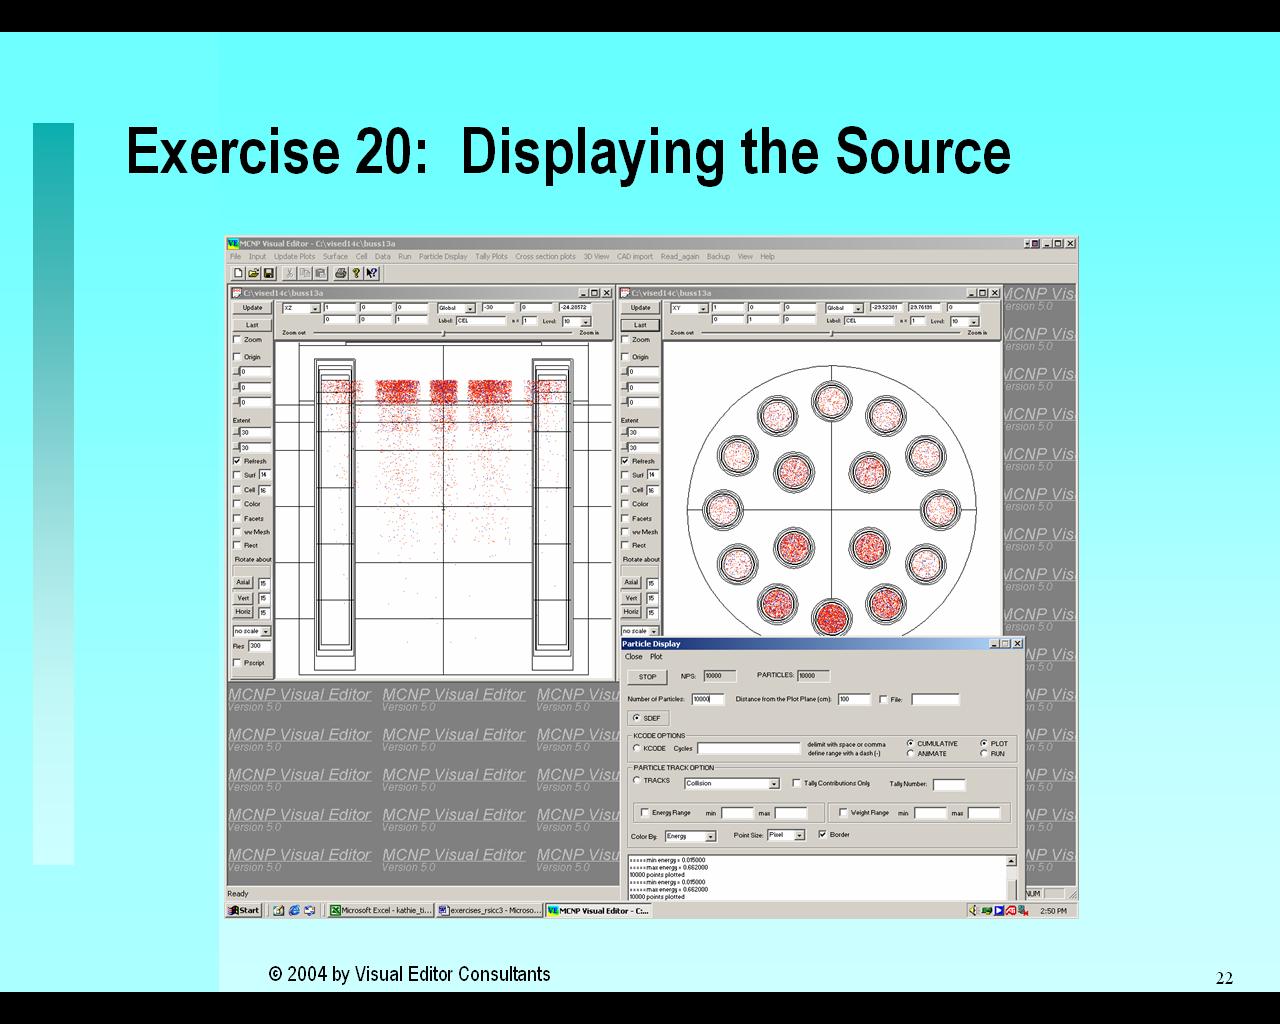
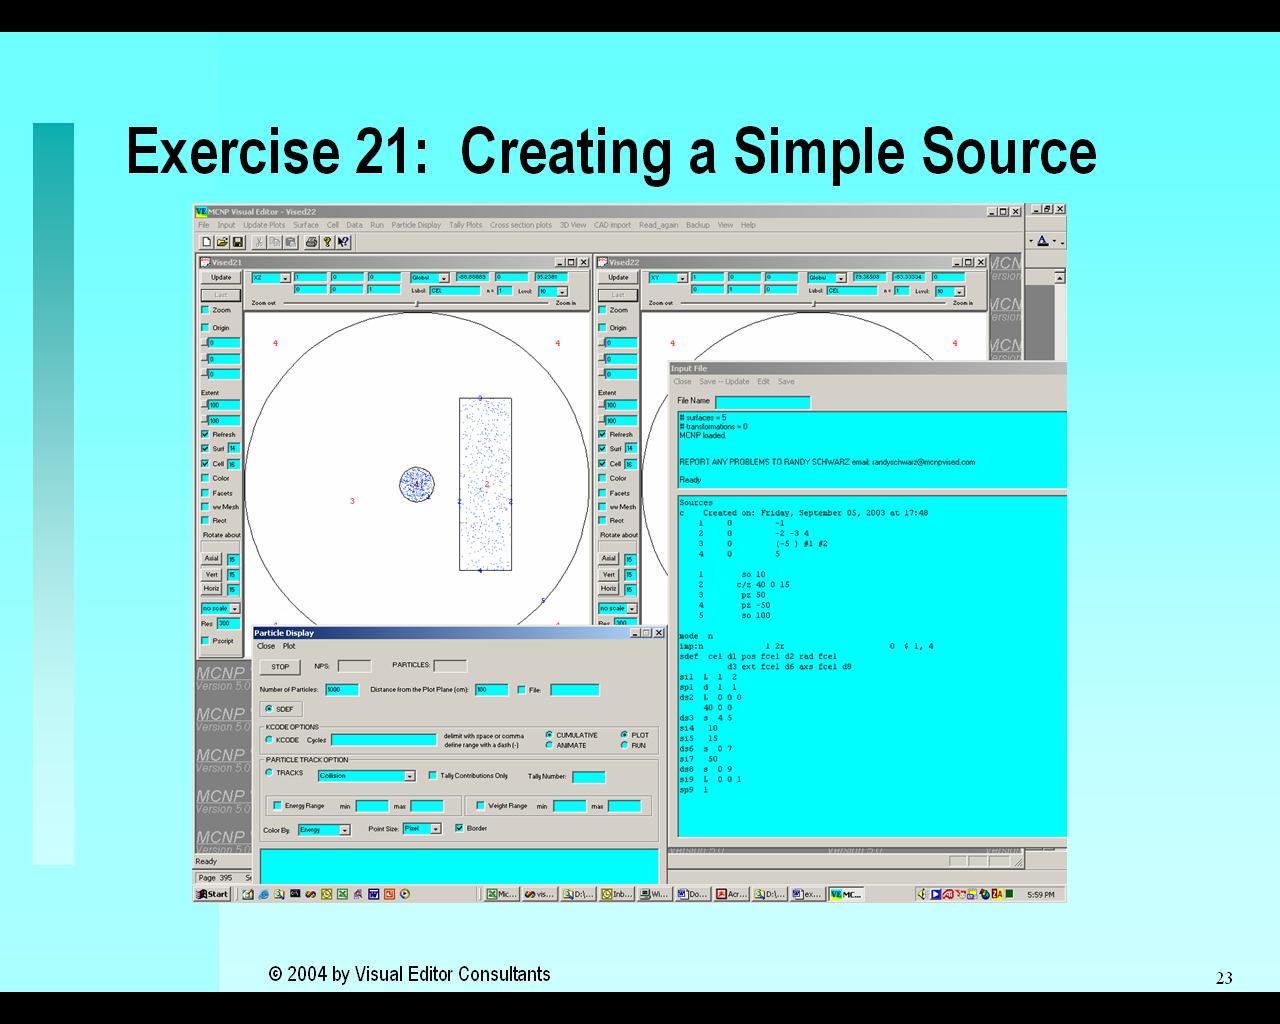
| Displaying a Source | Creating a Source | Running MCNP Visual Editor Input files | Making Tally Plots |
 |
 |
 |
|
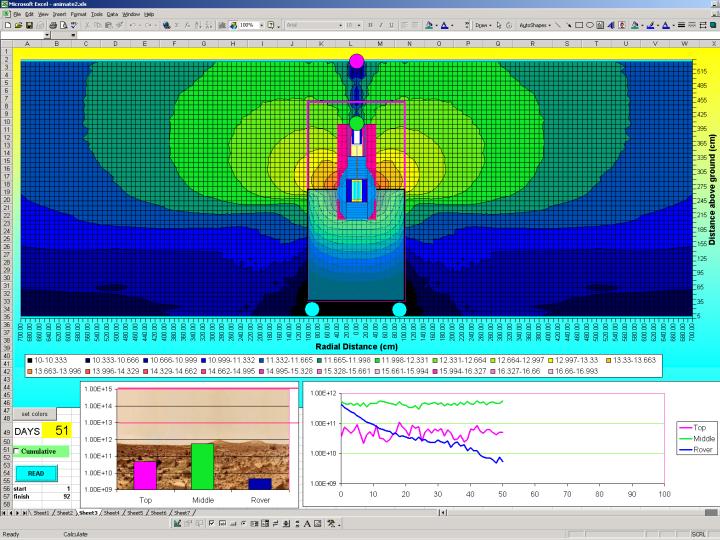
| Output Visualization | More Output Visualization | More Output Visualization |
Day 5
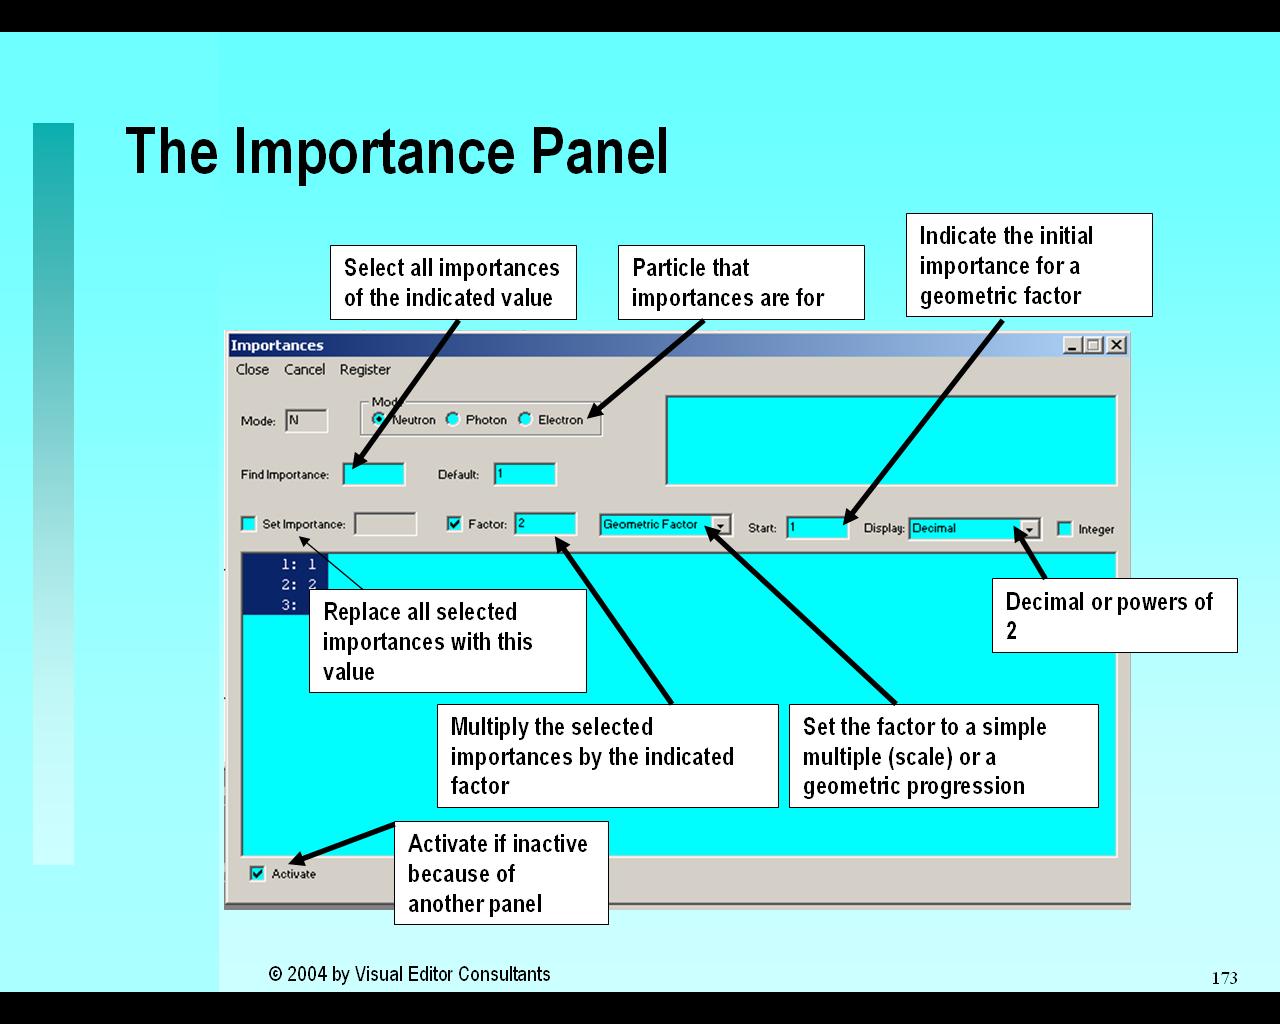
The fifth day teaches importances, cell splitting, and visualization.
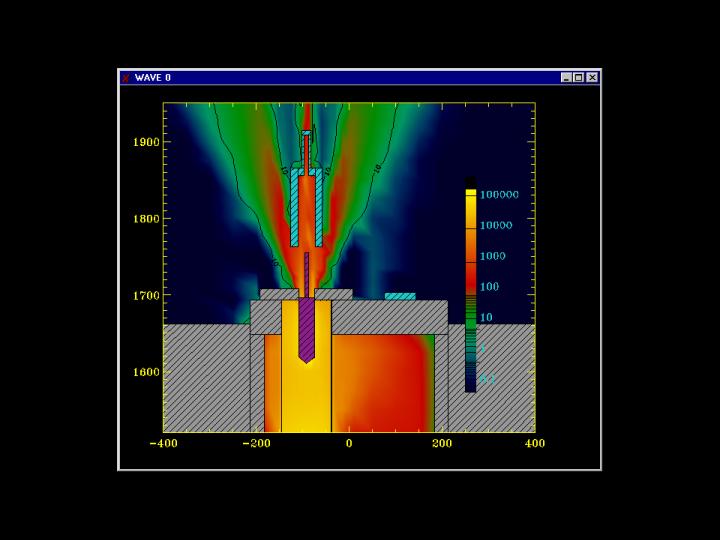
Variance Reduction
Collision Plotting
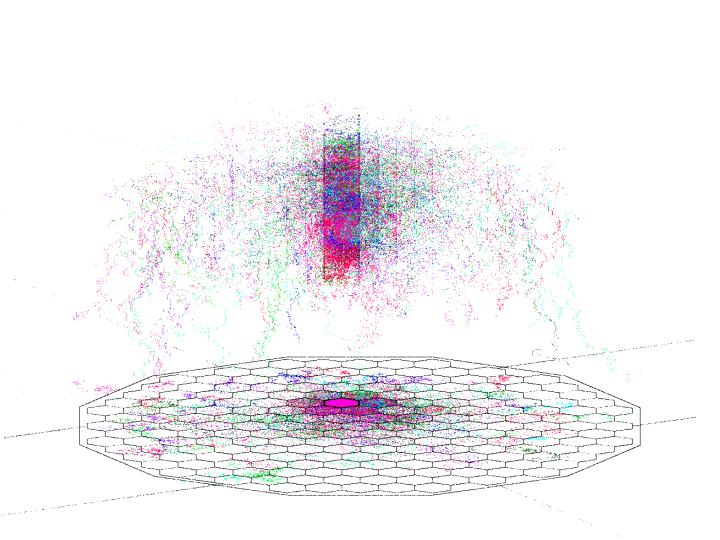
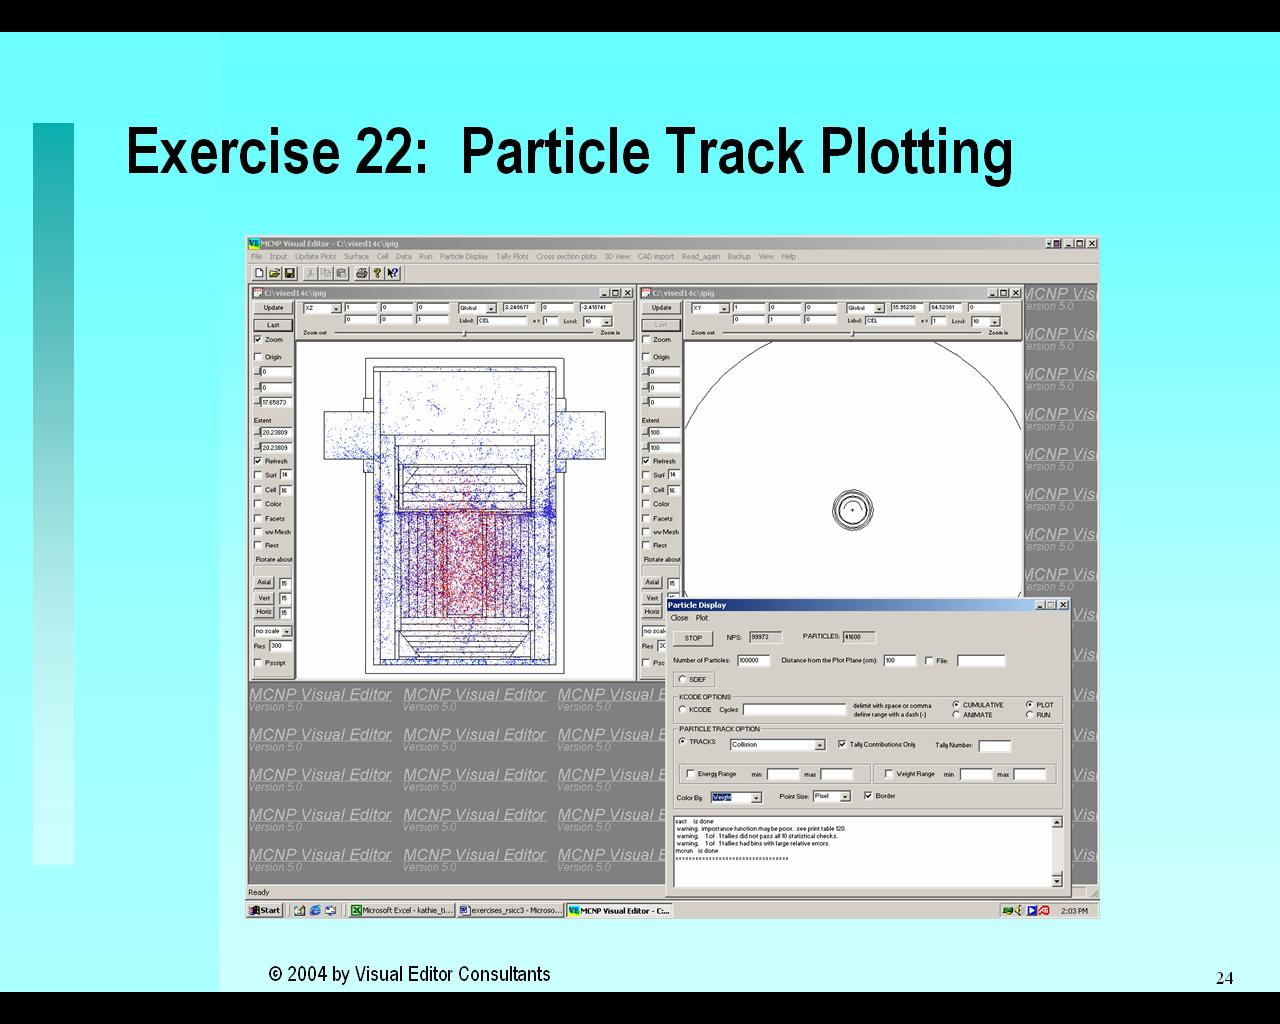
Particle Display
3-D Ray Tracing
 |
 |
 |
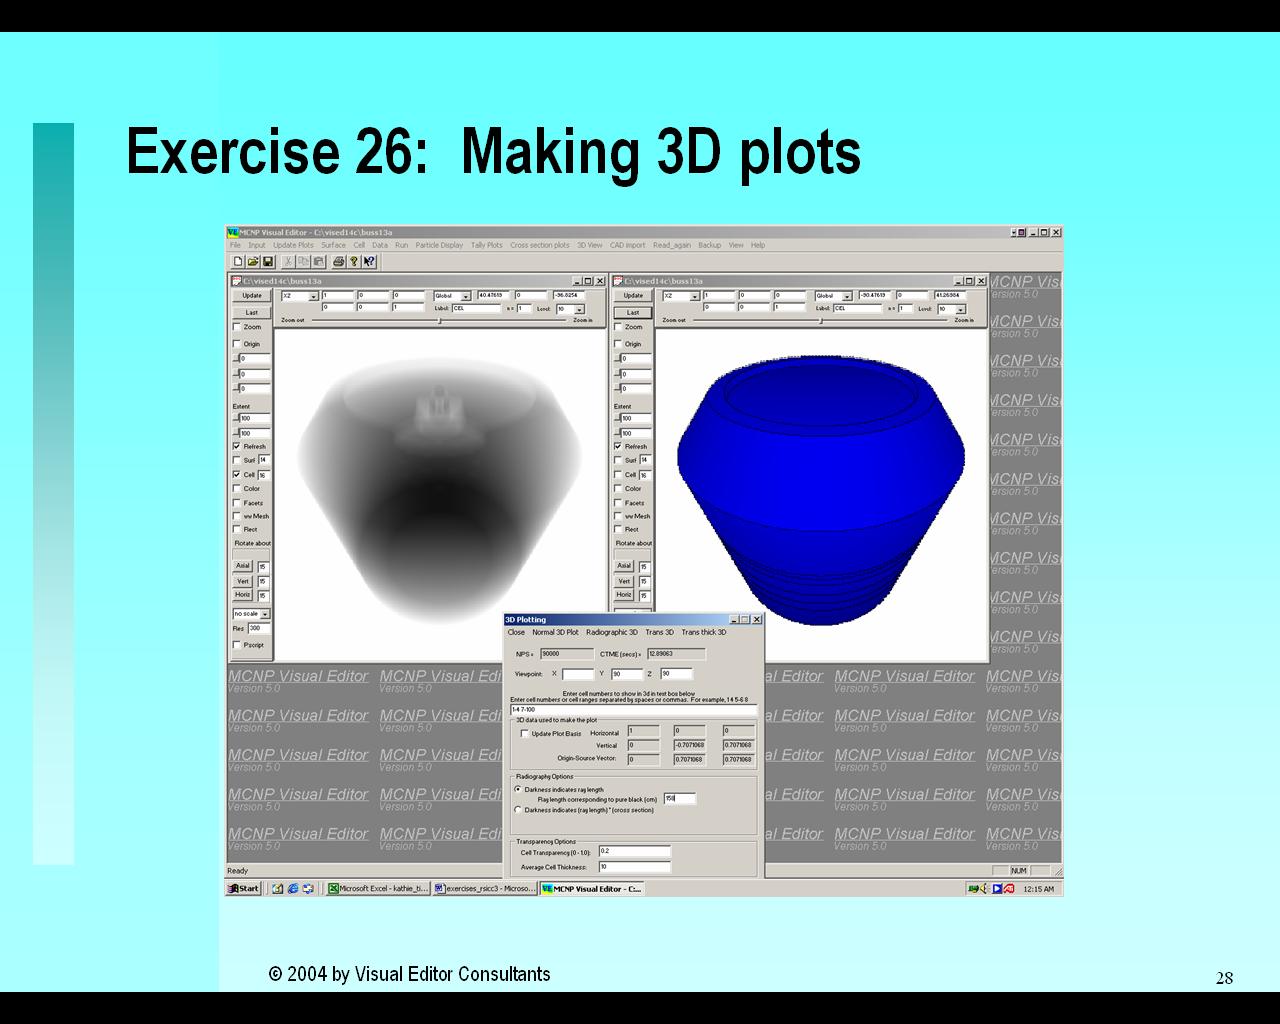 |
| Importances | Cell Splitting | Particle Track Plotting | Making 3D Plots |